
Table of Contents
If you’re serious about examining Mushroom spores and documenting Spore Prints with clarity, the microscope you choose matters more than brand hype or inflated “digital zoom” claims. In 2026, affordable optics have improved, but the fundamentals haven’t changed: correct magnification, stable mechanics, and good illumination determine whether spores appear crisp or frustratingly vague. This guide breaks down what actually works using real-world examples like GT Mushroom Spore Prints, Panaeolus Cinctulus Mushroom Spore Prints, Cyanescen Mushroom Spore Print, and Leucsitic Treasure Coast Mushroom Spore Prints so you can buy once and buy right.
What Magnification Actually Works for Spores
Most mushroom spores fall into a size range that becomes reliably visible between 400× and 1000× total magnification. Lower magnifications (100×–200×) are useful for scanning debris and locating dense areas of spores, but they won’t reveal shape or surface detail.
For common Cubensis varieties—often associated with Golden Teacher Mushrooms and Penis Envy Mushrooms—400× is usually enough to confirm presence and basic morphology. However, thinner or darker spores, like those from Panaeolus Cinctulus, often benefit from 600×–1000× to separate overlapping structures and edges. Cyanescen Mushroom Spore Print samples can appear especially subtle at low power, making higher magnification and strong lighting essential.
Key takeaway: prioritize a microscope that offers true optical 400× and 1000× via 40× and 100× objectives paired with 10× eyepieces. Avoid systems that advertise extreme magnification numbers without optical clarity.
Compound vs Digital Microscopes
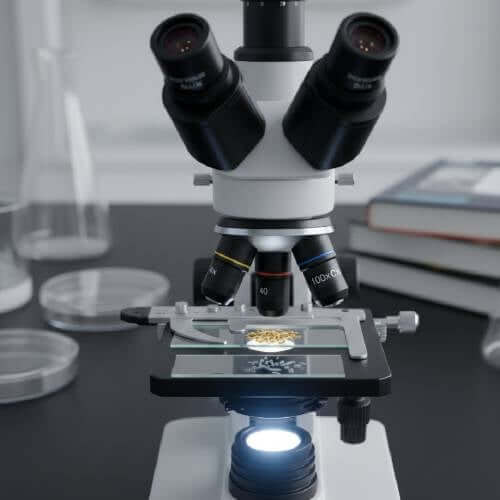
Compound microscopes remain the gold standard for spore work. They use glass objectives and eyepieces to deliver real optical resolution. When adjusted properly, they allow you to see spore outlines, internal shadows, and subtle coloration differences across Spore Prints.
Digital microscopes, especially USB models, are popular for convenience but rely heavily on sensor interpolation. While they can document large particles, most struggle with spores unless paired with high-quality optics—which often pushes their price beyond entry-level compound scopes.
For anyone examining GT Mushroom Spore Prints or Leucsitic Treasure Coast Mushroom Spore Prints with the intent to compare structure over time, a compound microscope offers better consistency and less eye strain.
Must-Have Features Checklist
Objectives
Look for achromatic objectives (4×, 10×, 40×, and ideally 100× oil). These correct color distortion and are far superior to plastic lenses when studying spores.
Lighting
An adjustable LED transmitted light source is essential. Brightness control lets you fine-tune contrast for darker prints like Panaeolus Cinctulus Mushroom Spore Prints without washing out lighter samples.
Stage Control
A mechanical stage with X–Y controls is non-negotiable. Spores are tiny, and nudging slides by hand makes consistent observation nearly impossible.
Camera / Phone Adapter Compatibility
Even if you don’t plan to document now, choose a scope with a standard 23.2mm eyepiece tube. This ensures easy attachment of a phone adapter or camera later for recording Spore Prints.
Golden Teacher Mushroom Spore Syringe

$22.99
$24.99
Golden Teacher Liquid Spores Revered as the community's most popular strain for its hallucinogenic properties and mycologists' top choice for its versatility, the Golden Teacher Mushroom Spores strain is undeniably a favorite for many. It's the most common strain of the… read more
Budget Setups (3 Tiers)
Entry-Level ($150–$250)
Ideal for beginners working with Golden Teacher Mushrooms and basic GT Mushroom Spore Prints. Expect 400×–1000× magnification, LED lighting, and basic stage controls. Avoid models without a mechanical stage.
Mid-Range ($300–$600)
Best balance for enthusiasts. Improved optics, smoother focus knobs, and brighter illumination make it easier to distinguish spores from debris in mixed Spore Prints like Leucsitic Treasure Coast or Cyanescen Mushroom Spore Print samples.
Advanced Hobbyist ($700–$1200)
For those documenting multiple spore types over time. Enhanced contrast, optional oil immersion objectives, and better build quality support longer sessions without drift or vibration.
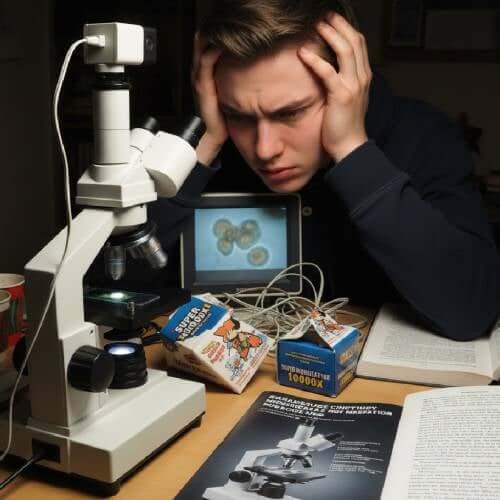
Mistakes to Avoid When Buying a Microscope
- Falling for inflated magnification numbers without optical backing
- Choosing plastic objectives that blur fine spore edges
- Skipping mechanical stage controls
- Ignoring upgrade paths for cameras or adapters
- Assuming digital zoom equals resolution
Many first-time buyers realize too late that cheap scopes struggle with darker spores like Panaeolus Cinctulus, forcing an upgrade within months.
Suggested “Starter Kit” Add-ons
- Prepared blank slides and cover slips
- Immersion oil (if using a 100× objective)
- Lens paper and optical-safe cleaner
- Phone adapter for documentation
- Slide storage box to protect Spore Prints
These small additions dramatically improve results and protect your investment.
Conclusion
The best microscope for viewing Mushroom spores in 2026 isn’t defined by flashy specs—it’s defined by usable optics, stable controls, and lighting you can trust. Whether you’re examining GT Mushroom Spore Prints, comparing Cyanescen Mushroom Spore Print samples, or studying subtle differences in Panaeolus Cinctulus Mushroom Spore Prints, a quality compound microscope will consistently outperform gimmicky alternatives. Choose a setup that meets your current needs while leaving room to grow, and your Spore Prints will reward you with clarity and consistency for years to come.
FAQs
Do I need oil immersion for mushroom spores?
Not always. Many Mushroom spores are visible at 400×–600×, but oil immersion improves clarity for smaller or darker spores.
Are all Cubensis spores easy to see?
Generally yes, but density and print quality vary between Golden Teacher Mushrooms, Penis Envy Mushrooms, and other varieties.
Can one microscope handle all spore types?
Yes, if it has solid optics, proper lighting, and a mechanical stage.